Water heater supply lines can corrode and leak at the connection nuts. When this happens, it is important to replace the connection lines. You can buy new hoses for your water heater at most hardware stores. Once you have your new replacement lines, follow these seven steps to replace your water heater connector hoses.
Step 1: Turn off the power to the water heater at the breaker switch.
Step 2: Turn off the cold water supply valve connected to the cold intake line.
Step 3: Drain the supply lines by running both hot and cold water from your kitchen sink faucet. Allow hot and cold water to run for a few minutes each.
Step 4: Pull up on the pressure release valve located on your water heater and hold it up for a few seconds to allow the inner tank pressure to subside.

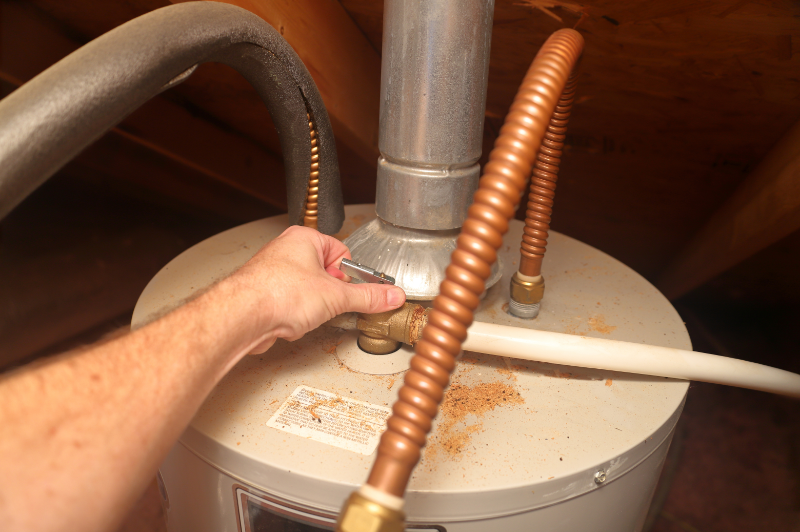
Step 5: Remove the cold water intake supply line and the hot water output line hoses.
Step 6: Attach the new water heater connector hoses. Make sure the rubber gaskets are pushed into the bottom of the connector nuts on each supply line. Connect cold water line to the intake marked "Cold" or "C" and the pipe with the cold water supply valve. Secure each connection firmly.
NOTE: When using Hippohose Water Heater Connector Hoses, you simply push our connection over the pipe for a water tight seal in seconds. No additional tools needed.
Step 7: Turn the cold water supply and the breaker switch back on.
For the easiest install, use our Water Heater Supply Line Hoses to instantly connect to existing plumbing without the need for any special tools, glue or soldering. You simply push our Connection System over the existing pipe and our specially designed, stainless steel teeth, will bite down like a Hippo and grip the pipe. The Hippohose O-ring will then compress to create a watertight seal.